 English
  Español
 Italian
 Português PT
 Français
 Deutsch
 Your cart
There are no more items in your cart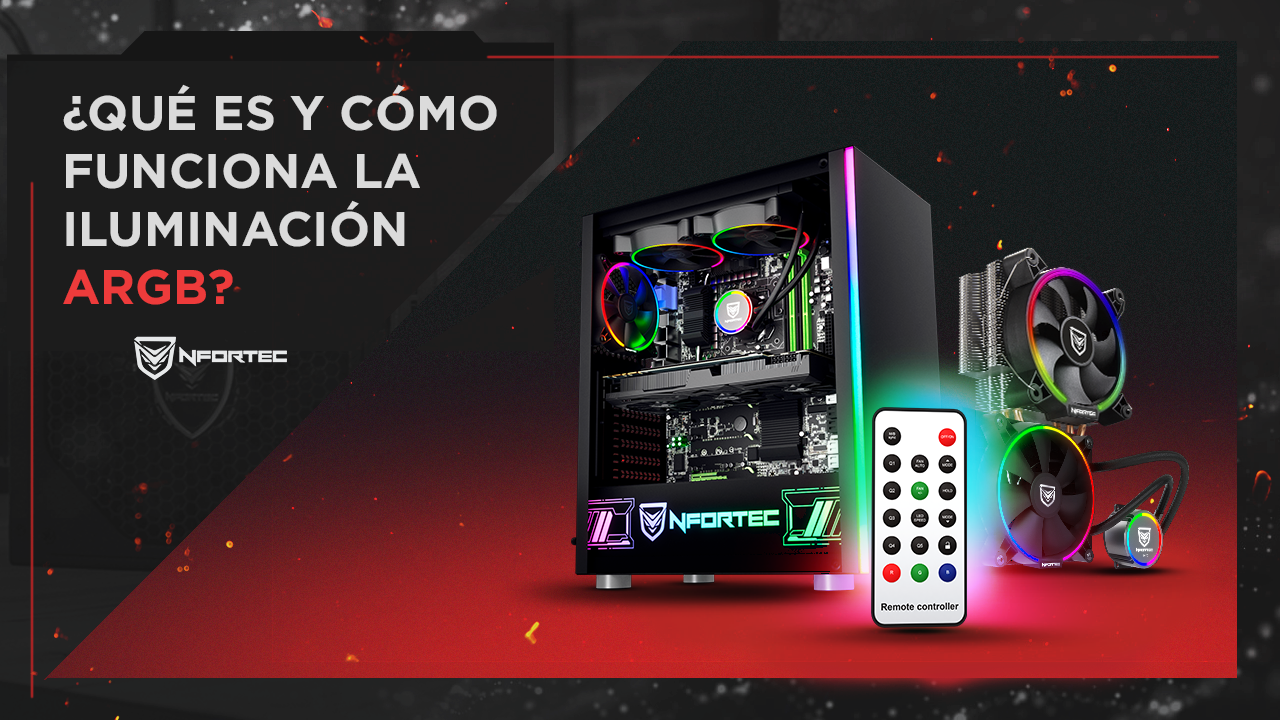
Today we want to bring you, in our blog of Nfortec, a small guide on how to install your components with rGB or ARGB lighting through the controller or, in case you don't have it, through the motherboard.
In recent months we have gone a little crazy and we have launched many products with backlighting, both RGB and ARGB, attention to this detail that is important, since these technologies are not compatible with each other.
Let's first explain what ARGB or Addresable RGB is all about. This new backlighting method allows the system to control each LED individually. This system offers many more lighting effects than a standard RGB so that a fan can be illuminated with several colors at the same time.
Our range of new cooling products, Andromeda 120 and 240, Centaurus and Oberon and Oberon Combo are all ARGB and are compatible with the Charon and Charon Pro towers and with the Vega y Antares. This new range if connected through the motherboard we will only have the rGB lighting available in Spectrum mode.
With our tower Draco V2 and its RGB technology would be compatible with our previous cooling range, Hydrus 120 and 240 and Vela KX and Sagitta.
Backlighting through your motherboard
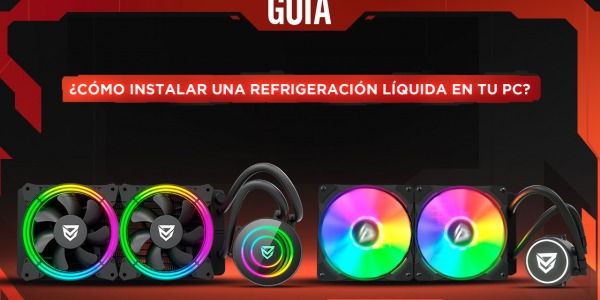
Let's start by explaining the installation of our backlit component to the motherboard, i.e. how to install our fans without using the controller. From our fan there are two cables, one with four PWM pins that we must connect to the motherboard in the CPU_FAN port and the other through the adapter included directly to the power supply.

If we want to install, for example, the new liquid cooling system Andromedathrough our motherboard we need it to have the 3-pin port to be compatible and be able to enjoy the aRGB lightinglighting, although only in Spectrum mode, as mentioned above. We will make the connection through this connector in its corresponding 3-pin port and the other connector to the power supply with its corresponding adapter. To make the connection of the fans will be the same as we discussed in the previous paragraph, with the difference that the connector must be placed in the SYS_FAN port.
RGB through the controller
Now we are going to explain the assembly of one of your components using the controller to synchronize the rGB or ARGB lighting. In our tower Caronte Pro tower already includes our controller, as in Oberon Combo, but if you prefer to purchase it separately you can also find it on our website, Nfortec RGB Controller.

Let's take as an example the installation of our new heatsink Centaurus ARGB. Once we have made the assembly and anchored the fan we only have to connect the cable to the controller. For this to work as it should, it must be installed correctly, but do not worry, the installation is very simple.
We begin by connecting the PWM (pulse-width modulation) connector to the CPU Fan port of the motherboard. This connector is a 4-pin connector, so be careful not to connect the 3-pin connector, as there is an exclusive connector for this connector on modern motherboards compatible with ARGB. If your motherboard has the port for this connector you can connect both without any problem.
The next step is to connect the Molex that comes out from the controller and is labeled Power with the one that comes out from the power supply with the same Power label.

Since you bring up the subject, we can see another example and make it clear how it would be to install Andromeda 240 through the controller to get the most out of the RGB lighting. First we will have to have the controller installed, as we have discussed in the previous section. With the PWM connector and the molex for the power correctly placed. Once we have all this connected and the pump and fans of our liquid cooling installed in place, it is time to place the connectors. When we did not have the controller installed we had the CPU_FAN port free to connect the pump there but now we do not have this option so we must connect it to the SYS_FAN port. Once this is done we only have the fans and it is quite simple, just connect one of the wires coming out of the fan to the controller. The other one does not have to be connected anywhere. With this we would have our installation finished.
attention! Important warning
Before finishing we have to warn you of something important. We can find two connectors when installing our cooling, a 6-pin connector to regulate the fan speed and the rGB lighting and a 4-pin connector dedicated to fan speed only. So... what happens if we connect both connectors? Well, by inserting two connectors that regulate the speed simultaneously, we overload the information, since we double the speed of this, which would burn the controller and melt the LEDs of our team. Therefore, if you are going to connect the cooling to the controller, connect only the 6-pin connector to regulate the lighting and fan speed.
Connect both connectors: Error!
To conclude
We hope that this little guide to installing backlighting for your PC has solved any doubts you may have and that it will help you decide which components you need if you want to upgrade your set-up with more RGB or ARGB.
In a nutshell.
ARGB backlight compatible components: Centaurus, Andromeda 120 and 240 and Oberon and Oberon Combo.
ARGB backlit compatible towers: Charon and Charon Pro, Vega and Antares.
RGB backlit compatible components: Sagitta
RGB backlit compatible towers: Draco V2 and Lynx


Comments (0)