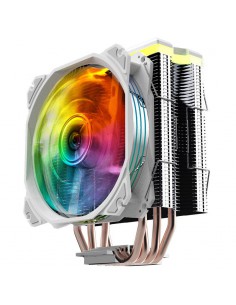
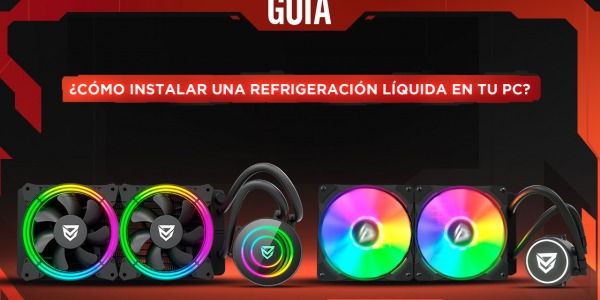
As you may have seen, our CPU cooler family is growing every day and, in the last weeks we have launched two new models with very interesting features: Sculptor and Centaurus X. To make your life easier and give you a hand when it comes to changing your heatsink, we bring you this guide to install it without any problem
Whether you are building a PC from scratch, or if your intention is to replace your current heatsink, you can follow the steps we will explain. Of course, before starting the installation you will have to remove your current heatsink or CPU liquid cooling, although you already know this. So, if you are ready, let's get started!
Heatsink choice
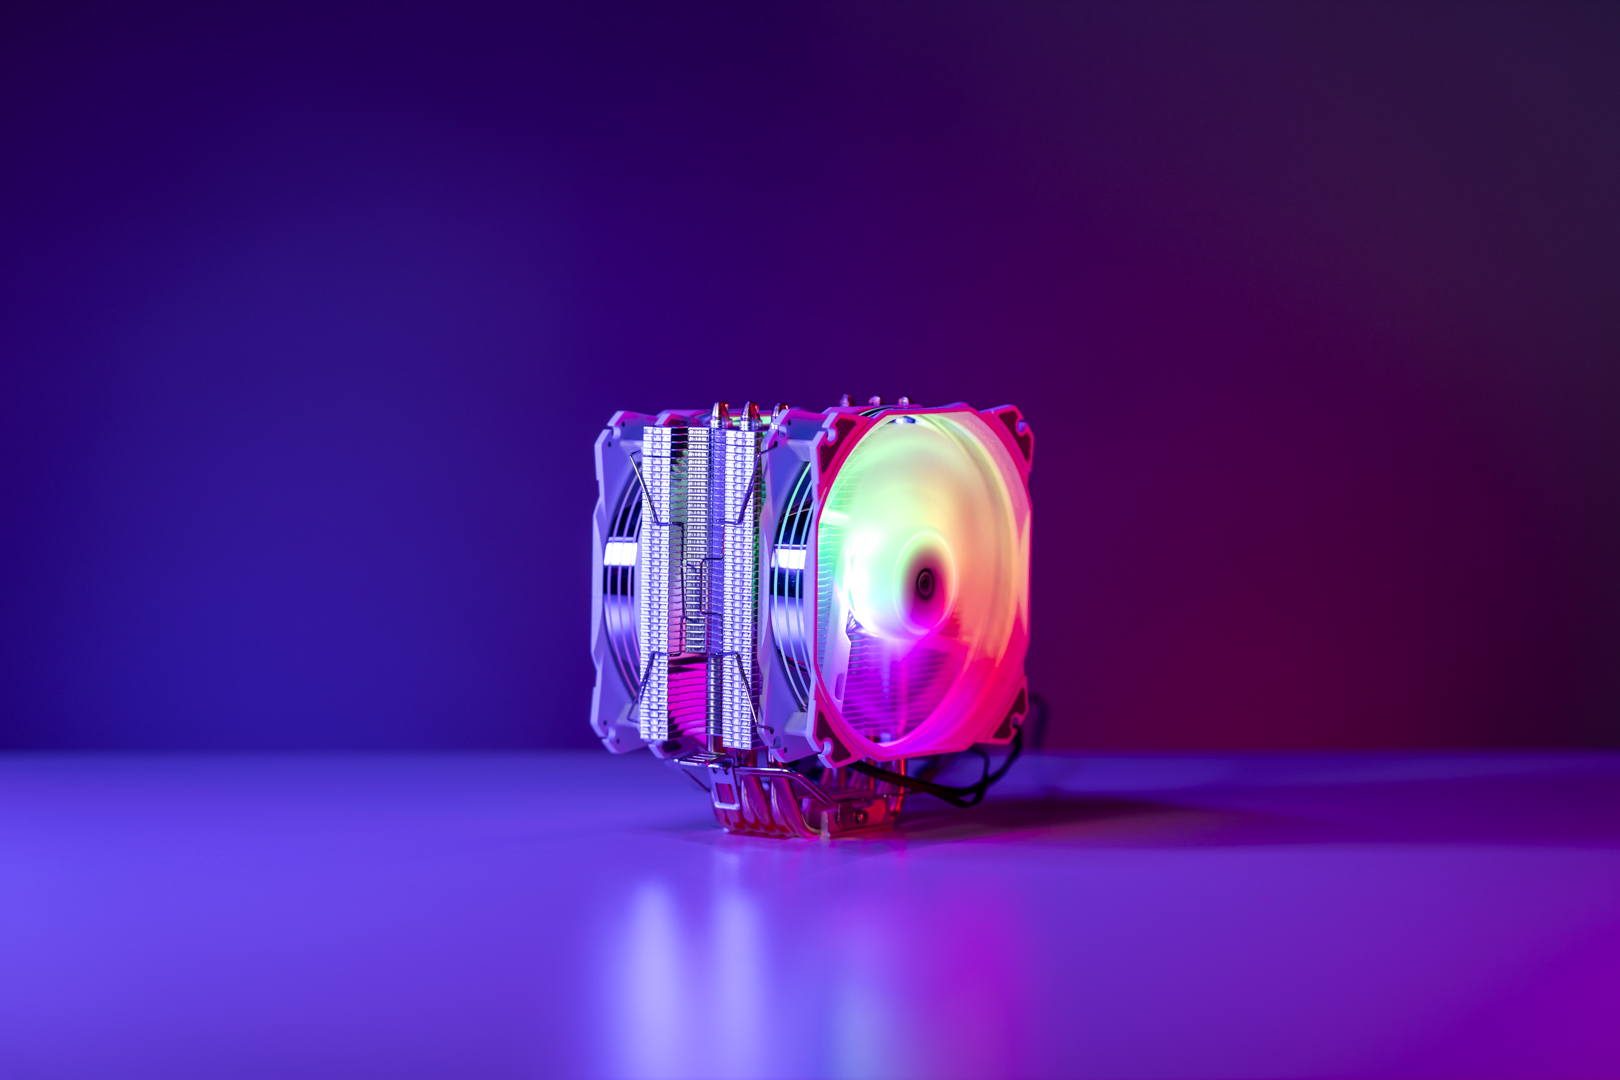
The most important thing is the choice of heatsink, not just the performance it offers. You will have to choose one that is compatible with your processor, keep in mind that AMD and Intel sockets require different adapters to be able to place the heatsink correctly. Our models can be installed on processors of both brands, but we always recommend that you take a look at the specifications that you will find on each product page, to make sure that this item is the one you are looking for. Remember that the dimensions are also important, choose one that fits well in your case, with the rest of the components
Preparation
Once we have our new heatsink, we will remove the old one very carefully and remove the thermal paste residues that may remain. This must be done with great care and without products that may affect the processor, there are special liquids for this but, simply with a cotton swab and without pressure, you should have no problem. If the thermal paste is too stuck, you can use isopropyl alcohol, but make sure that it is specifically this type of alcohol and not another
Since we have to replace the thermal paste, it is best that, before doing so, we have all the components at hand to install our new heatsink. Separate the screws and the correct adapters for your processor, which will be indicated in the manual of each of our models, and leave them ready. The fan will come separately but, don't worry, we will assemble it at the end
.png)
Step by step assembly
If you have had to remove the old heatsink, you will have removed the side panels of your tower, so you can unscrew it from the board and remove the bracket (that relatively square piece of plastic, where the screws are placed) on the back of it. Now we will have to do the reverse process.
We will start by placing the bracket and the screws that hold it, from the back of our motherboard and holding it so that it does not come loose. Once we have this ready, the next thing is to anchor the heatsink to our processor and, for this step we recommend that you make sure you are putting the adapters for Intel or AMD, as you need, and as they appear in the manual, otherwise they will not fit. If you make a mistake nothing will happen, just change them and that's it, but it is a bit tedious. We mount the adapters on the heatsink, and secure them with screws
Once we have the heatsink ready to finish its assembly, we put a little bit of thermal paste on the processor. Some people make a small cross or put a couple of dots in the central part and spread them with the help of a card to cover the processor. The important thing is not to overdo it and keep in mind that, when we anchor the heatsink to the processor, the thermal paste will spread over it and should not spill.
Next, we check the heatsink because the part that will go over the processor has a plastic protector that we must remove. Once this is done, we will proceed to screw the heatsink to the bracket. For this step, we recommend that you lay down your tower as it will be infinitely easier to exert the necessary pressure to perform the installation
Check that the screws of the adapters fit well in the bracket and, if not, make sure that you can move them slightly so that they fit well. When they fit, we will proceed to screw them always in a cross shape, so that heatsink and processor make contact in a uniform way and the thermal paste is well distributed

Fan installation
We reach the end of our assembly, we have to install the fan and, to make it easier, we may have to remove the RAM cards. We place the clips on it, as indicated in the manual and we can attach it to the heatsink. If you want to go a step further in cooling your PC, our new Sculptor model has two fans that will significantly improve the temperature of your processor
And we would only have to connect the wiring where appropriate. The fan must go to our motherboard, CPU FAN and, if our new heatsink has RGB, we will have to consult the manual to connect it to the motherboard or to a controller, if compatible
We hope this guide has helped you and, if you have not yet been encouraged to upgrade your heatsink, surely among our models there is one that you love.
 English
  Español
 Italian
 Português PT
 Français
 Deutsch


Comments (0)