You already have one of the two most popular models of our gaming towers: Draco V2 or Krater. And that's when the first doubts about the fans, ARGB lighting, etc... Undoubtedly one of the most frequent doubts is about the controller that comes included with the PC cases. If you do not know how your controller works or you have doubts about what any of the buttons are for, from Nfortec we bring you a small manual of the Krater and Draco V2 controllers. Do you want to know more?
Draco V2 Controller Manual
The controller of the Draco V2 gamer tower controller, prior to September 2020, has 21 buttons included on the front
The On button is used to turn on, light up or pause the RGB lighting included with the box. The Off button is used to save changes made with autosave mode.
The AUTO button has 246 auto play modes. With the controller turned off, press this button to enter the setup menu, then press the buttons below it, marked M- or M+. With these two buttons you can adjust the pixel LED. Press the blue button, located on the penultimate row of buttons, to adjust the RGB sequence. After completing these settings as desired, press the Off button, located to the right of AUTO, to save the changes or exit.
Next are two buttons labeled S+ and S-. With these two buttons we can set up to 10 speed levels. To increase the speed we will give to the S+ and to decrease it, to the S-. With the M+ and M- buttons we will be able to alternate between its 246 modes. To the right of these buttons located on the gaming box there are also two buttons to adjust the brightness level (with up to 32 levels available)
Press and hold the pink button for 5 seconds, this way the remote controls will be one by one (and only this remote control will be able to control the others). Press and hold the white button for 5 seconds to cancel this pairing of remotes previously made. All remote controls will be able to control it.
The RGB sequence function setting varies depending on the power off status of the operating system, press the AUTO button to enter the setup menu. The first three LED lights show the status of the current RGB sequence. Press the blue button below the brightness setting to adjust the RGB sequence to be the last three lights red, green and blue. Press the Off button to save the changes
With the other colored buttons you can select the desired color for the fan ring and other RGB lighting on the Draco V2 tower.
* Units purchased on or after September 26, 2020 carry upgraded fans and controller to the 5v 3pin A-RGB connector and do not come with a controller.
Krater controller manual
The Krater gaming tower controller features a smaller button selection than the Krater, with a selection of 17 buttons included
With the red button at the top we can turn on or off the computer case lights. With the green Mode buttons (Mode - and Mode+ nomenclature) we can navigate between the different lighting effects generated by the controller itself. The blue buttons next to these buttons are used to control the speed of the LED lighting. With the yellow buttons we can regulate the light of the LED illumination. And the pink button located in the center (AUTO) is used to determine the maximum fan speed configurable from the controller.
The button in the shape of an open padlock is used to remotely control the locking of the functionalities. Press this key for 5 times in succession and the LED lights will flash white once. In this way, the lighting can only be controlled through this controller, any other formula will be unfeasible. If you press the button 5 times on any other controller and that white flash is repeated again, it can be locked or unlocked by any remote controller.
With the keys R, G and B we will be able to select that the fans are illuminated in red, green or blue color as we wish. With the W key the fans will illuminate in white color and the key that is a configuration wheel, will be used to select the non-functionality
Finally, in the last row of buttons we find 3 that form a cross that moves at lower or higher speed (from left to right). With the key on the left we select the slow speed for the fans. With the button in the middle we select a medium speed for the fans. And with the key on the right we select the high speed for our fan blades
Note that when the PMW functionality is not connected to the motherboard these buttons will work. If they are connected to the motherboard they will not have any functionality, since the fan speed will vary according to the signal sent by the PMW of the motherboard itself.
We hope that these small manuals on the controllers of the two most popular models of our family of gaming towers have been useful and you can configure the lighting and speed of your fans a la carte.
 English
  Español
 Italian
 Português PT
 Français
 Deutsch
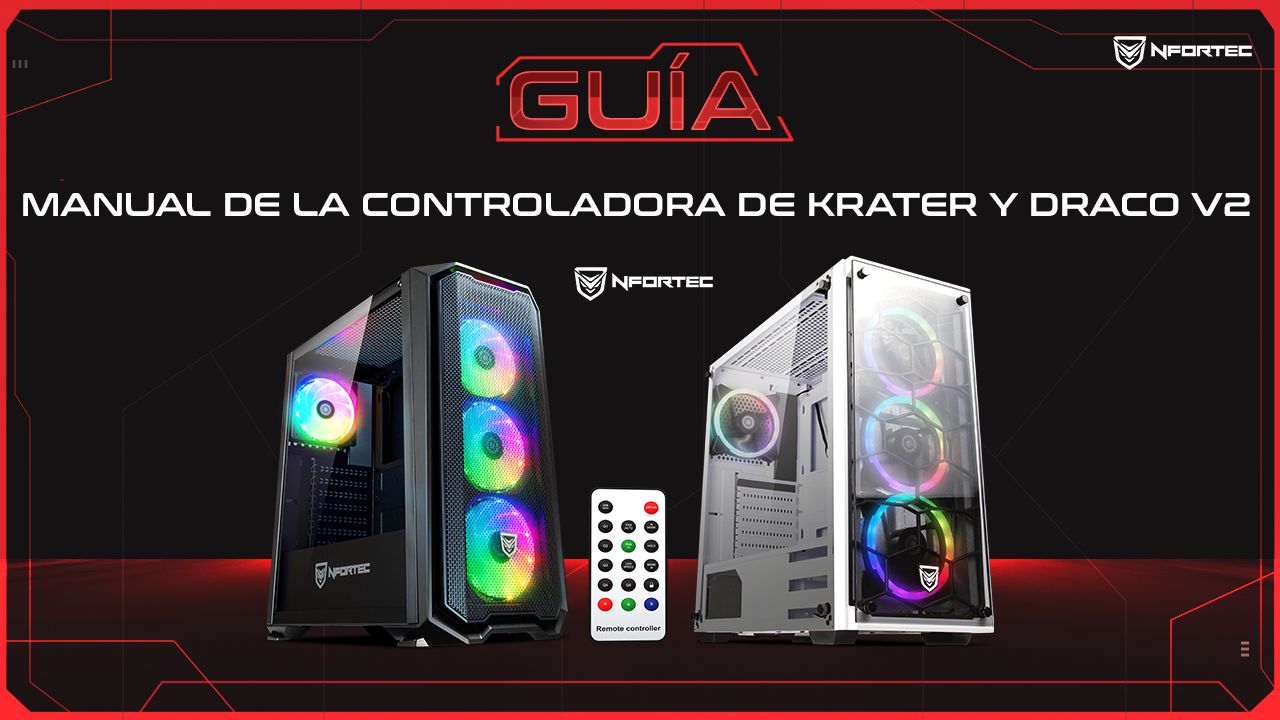


Comments (0)