From Nfortec we bring you a guide on how to install a Hydrus V2 120 Red liquid cooling on a graphics card. We will explain, from the hand of our ambassador Eseka, the step by step to get this graphics card through a liquid cooling. If you like to test your PC and try to get the maximum performance for your gaming games, you will definitely be interested in our guide. Curious about how to install a liquid cooling on your graphics card?
First steps for installation
* From Nfortec we would like to point out that both the graphics card and the liquid cooling are not intended for this type of installation and improper handling of any of our products would void the warranty of the same.
The first thing we will do is to remove the stock cooler from the graphics card. Secondly we create a kind of backplate to hold the liquid cooling. To do this we measure the back of the graphics card, what distance there is between the anchors for the screws to make a 3D piece that fits. It will take between 6 and 8 hours to print one of these parts if we set the density to 100%, important to get a hard and rigid piece. Then we will place that piece on the back of the graphic to check that it fits and mark where the holes are to drill and get space to pass the flanges a posteriori
Protect the rest of your components
In the CPU block of the liquid cooling there are some small protrusions to place the adapters for Intel or AMD, but in this case they were an impediment to the graphics. The solution is to sand that part so that the graphics card can fit. Once everything fit it was time to start the assembly. We put the backplate on the back of the graphics card. We recommend to put a protection so that the graphic card does not stop working (you can use double-sided insulating tape and some washers where the flange passes
Assemble carefully
The next step is to pass the flanges, we will need two or three hooked together to hold the CPU block on the graphic. The pressure exerted by the flanges should be avoided as indicated above. We place thermal paste, the CPU block on top and pass the flanges so that they go from one place to another, forming an X on both sides so that the graphic does not move
Temperature testing
To prevent the memory from heating up we decided to use heatsinks. In addition to using this element we also placed under the graphics card a fan of Nfortec. The last step would be to connect and test, in this case in a Krater tower with some Oberon fans. With this configuration, the GPU temperature stays above 60 degrees, which is a pretty good temperature. Performing the OCCT test it did not go above 60 degrees either. In the gaming test, temperatures were also maintained in this range
* From Nfortec we would like to point out that both the graphics card and the liquid cooling are not intended for this type of installation and improper handling of any of our products would void the warranty of the same.
Krater ARGB Black Gaming Tower Performance and aesthetics come together in the new chassis Nfortec Krater ARGB, creating a tower that highlights its ventilation system with its mesh front and in turn a spectacular design that catches you from the first moment. *Units purchased from July 2020 carry fans and controller upgraded to 5v 3pin A-RGB connector,...
Save products on your wishlist to buy them later or share with your friends.
Use your Amazon Account
With Amazon Pay and Login with Amazon, you can easily sign-in and use the shipping and payment information stored in your Amazon Account to place an order on this shop.
 English
  Español
 Italian
 Português PT
 Français
 Deutsch
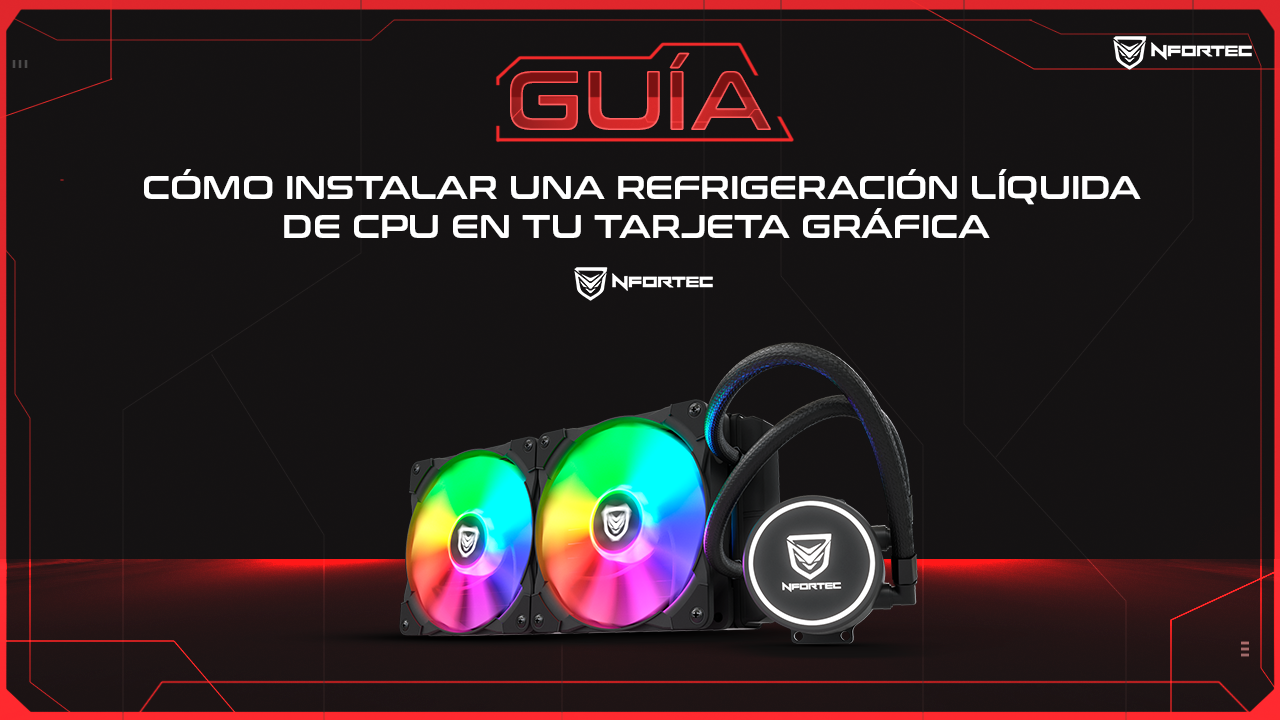


Comments (0)