 English
  Español
 Italian
 Português PT
 Français
 Deutsch
 Your cart
There are no more items in your cart
€19.95
A-RGB Controller To take the customization of your set-up one step further and synchronize all your components Nfortec ARGB we bring you the Nfortec RGB Controller.
We updated the mounting components of our CPU cooler, Sculptor, so you can install it even easier on your AMD or Intel board. Enjoy this dual fan cooling with ARGB lighting, designed for gamers.
If you are one of our many Sculptor users, you will know that the main mounting of this heatsink on an Intel motherboard was done by means of a ring, which incorporated some hooks, which kept the heatsink in place for proper operation. It is true that this was not the usual way to install a CPU heatsink, but this ring was suitable for both AMD and Intel installations, so we opted for it at first
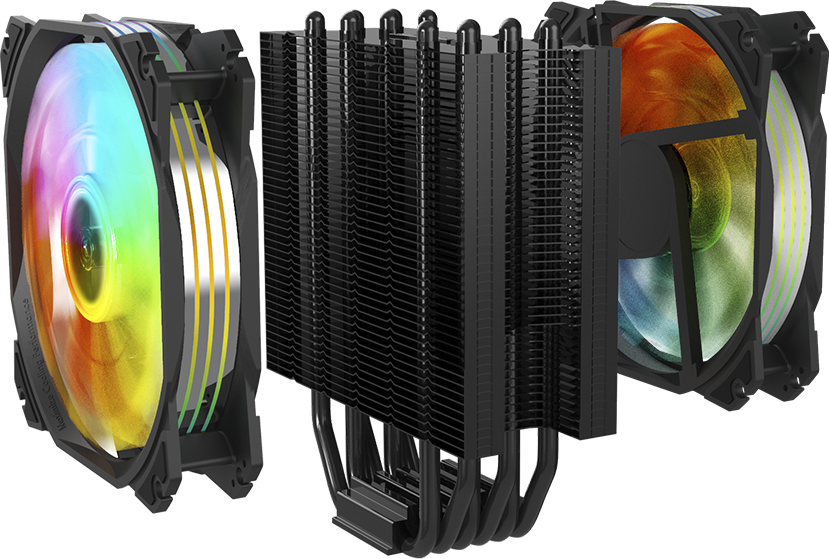
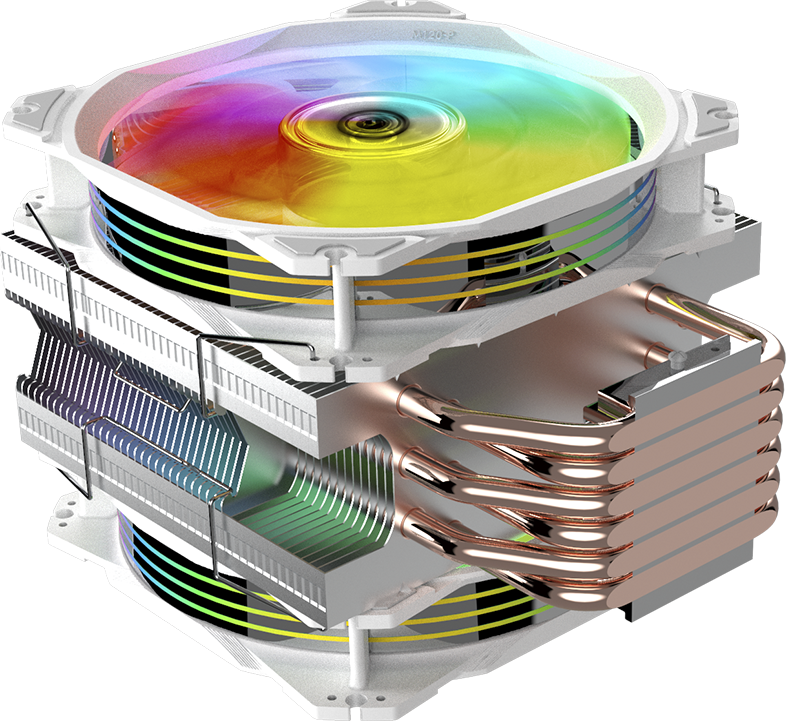
With time, and our eagerness to improve and always offer the best in technology, we have rectified and decided that updating our Sculptor heatsink with the universal installation components would be the best for our users. The airflow characteristics and others are the same, so users who already have this model of CPU heatsink should not worry, only the installation changes

The updated manual is available on our website, with everything explained step by step, but here we will include the images and we will comment point by point. We recommend you to read this complete post, before starting your installation, because you can place the fans from the first moment, or wait to have mounted the base piece to your board, and the installation of the fans will be discussed at the end
As we mentioned, Sculptor now comes with Intel and AMD specific brackets, remember that they are different depending on your board. Instead of the ring that the previous version had, you will now find the usual bracket, on which you will have to mount the corresponding brackets and screw them to your board. Remember that it is important to put a little bit of thermal paste on the processor, without it overflowing once you place the heatsink on top.

Once you have placed the heatsink on the processor and it is screwed to your board, it is time to mount the fans. You can do it before, but you may find it easier to do it in parts because, depending on your tower or the space you have inside it, you may find it more convenient to mount the heatsink and then put the fans, or mount it all at once
To mount the fans, simply take the thin hooks, two per fan, place them as shown in the image above, in their corresponding holes, and from there to the main piece, they will work as a kind of clamp. It is important that you take into account the position of the fan blades for proper placement, as they are different. For the airflow to cool your CPU, you must place the fan with the blades as shown in the image, on the right side, facing the front of your tower
Thanks to Sculptor's connector, supplying power to your new heatsink will be super easy. Simply connect "A" to the CPU_FAN or SYS_FAN connector on your motherboard. Then connect "B" to the "5v 3 pin" connector also on your motherboard or, if you have a compatible external controller, to it. This way you will have your heatsink up and running in no time, and you will be able to control its lighting in the most comfortable way

Remember that if you are looking for an external controller that allows you to synchronize the lighting of your components and control them by remote control, two models are available on our website: RGB for 6-pin connectors, and ARGB for the new 3-pin connectors

Hardware is a complicated world. Not only do we have to know about components but also compatibilities,...
One of the first doubts that arise when you decide to embark on the adventure of assembling a computer from parts...

When you make the decision to
Comments (0)